
BLOG
API Security Testing Checklist for Developers
APIs are the backbone of modern applications, facilitating seamless communication and data...

Is the ChatGPT app safe? Discover hidden security flaws in ChatGPT’s Android app, real risks, and expert tips to protect your data—read before you install!
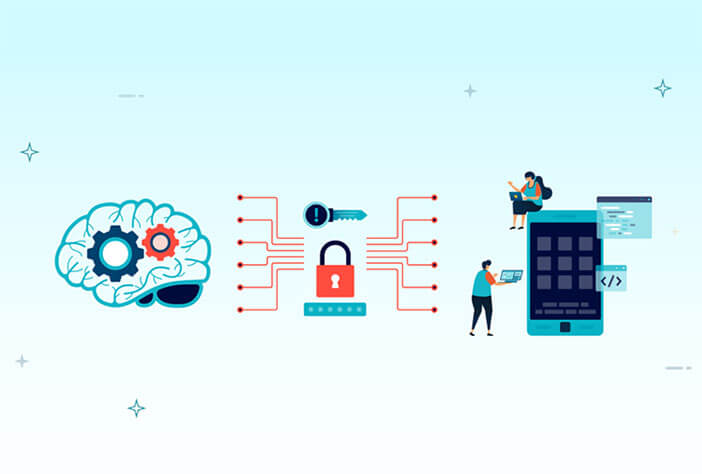
Discover how generative AI is changing the application security landscape and how you can turn it into an ally to solidify your security framework...
.jpg?width=702&height=474&name=Is-the-Deepseek-Android-App-Safe_-Appknox-Finds-Major-Security-Risks%20(1).jpg)
Artificial Intelligence is reshaping how we interact with technology, from virtual assistants to advanced search engines. However...
BLOG

BLOG

BLOG


BLOG

BLOG
